How to Make FABULOUS Sourdough Bread - The simple Way
Jan 04, 2016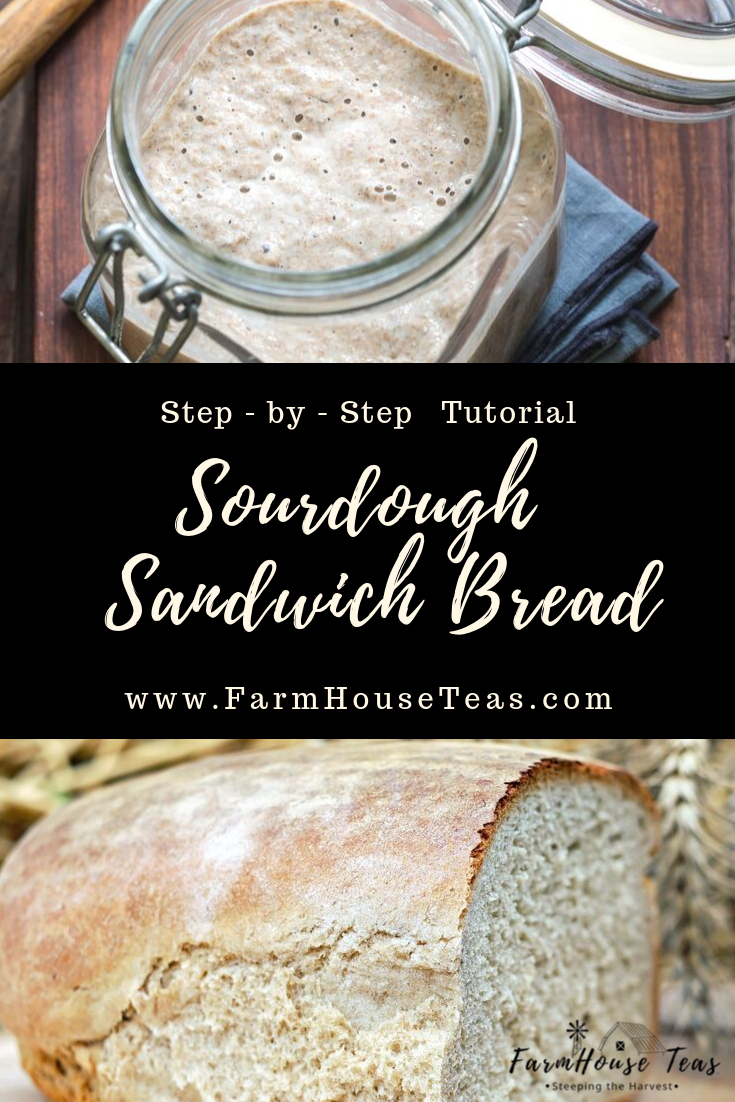
Bread has been the staff of life for many ages and only in recent times has it come under attack for being hard to digest and nay even the cause of our ill digestion.
Celiac disease is on the rise and gluten free diets are all the rage. Did our staff of life go bad on us or did something change?
In our post today we are sharing a few thoughts on wheat along with our family recipe for whole wheat sourdough sandwich bread. It turns out, that it may not be the wheat itself at all.
This post contains affiliate links throughout. Translation: We get a little kick back for sharing certain products, at no additional cost to you, should you choose to purchase said items. And thank you for supporting our farm and family! Read the full disclaimer here.
As we wrote about in another blog post on Milling At Home, we shared how the milling of wheat affects the wheat itself. How the right process can keep it healthful while the wrong process my actually remove the health benefits from the flour.
Before we share our family's sourdough recipe, we are going to share about 2 of the 12 Factors of Proper Nutrition: proper preparation of food and proper cooking of food.
Why is Sourdough Special?
According to the all knowing Wikipedia, "Sourdough is the fermentation of dough using naturally occurring lactobacilli and yeast."
Prior to the use of commercial yeast (bread yeast typically purchased for bread making) sourdough starter was how families baked their daily bread.
Sourdough starter uses a natural leaving that takes the naturally occurring yeast from the air when flour and water are mixed together. This is what makes the bread rise in a sour dough recipe. Most sourdough breads purchased or served in a restaurant do not use this method but add other agents to mimic the flavor of sourdough.
Why is this Important?
Sourdough starter not only makes the bread rise without having to purchase a commercial man made yeast but it also helps to make bread more nutritional.
The lactobacilli (the yeasts and bacterias) digest the sugars in the wheat, they give off gas in the process making the bubbles in the starter/bread dough which make it rise. When these lactobacilli eat the sugars they are "pre-digesting" the bread for us which makes it easier for us to digest.
Souring the dough also prepares the nutrients in the wheat for us so that we get more out of our wheat than we would have had these bacteria and yeasts not started the job for us.
This study from the US National Library of Medicine shows that souring the bead reduces gluten and may be helpful to those who are gluten intolerant.
In our own personal experience we don't have the bloating that is associated with eating yeast bread and the whole wheat sourdough also ties us over to the next meal much longer. When we have gone back to a commercial yeast bread we feel as if we didn't eat much and continue to feel hungry, in return eating more.
One important thing to note about this recipe: It needs to be started the night before. While it doesn't take much "hands on time" it does take time and there is some planning to do ahead of time.
Without further ado, our family sourdough tutorial! If you would just like to print the recipe scroll down to the end of this post.
Fresh Ground Flour is Best
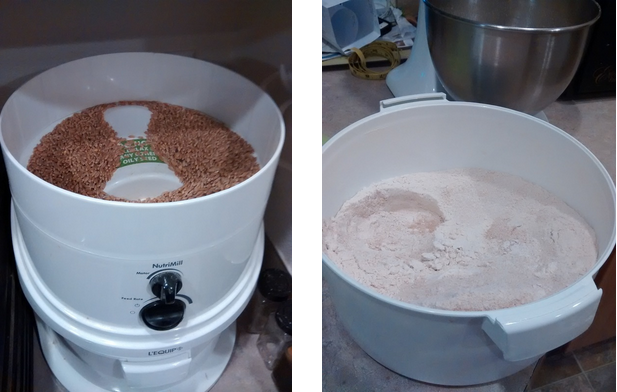
Grind 6 cups of Hard Red Wheat
(This skip may be stepped for those not grinding their own wheat.)
I grind about 6 cups of Organic Hard Wheat which I usually order from Azure Standard but any hard red wheat such as this one on Amazon will do. If you are buying pre-ground flour from the store I would recommend getting Bob's Red Mill brand of whole wheat.
To grind wheat please follow the directions that came with the mill that you have. We started out with a hand crank Wondermill Jr. mostly because we thought it would be great to have something that didn't require power. Then the official wheat grinder became tired and so we invested in our lovely electric wheat grinder, the Nutrimill, which we have had about 6 years now. (9 years as of the updating of this post)
Measure out the starter
Starting, Keeping and Saving Your Sourdough Starter
After trying to make our own starter from scratch (just flour and water, feeding equal amounts for a week) we opted to just purchase a starter from Cultures for Health. In this tutorial we are using their Whole Wheat Desem Starter which has worked great for us. The other two options for obtaining your own starter are to get some from a friend or make your own from scratch. (A post for another day).
Sourdough TIP! Once you have your starter established make sure that you keep a back up by dehydrating part of your active starter (separate from that you are using) and then keep it in a dry location or in the freezer. This way if you kill it, like I did in the process of learning, you will have a back up.
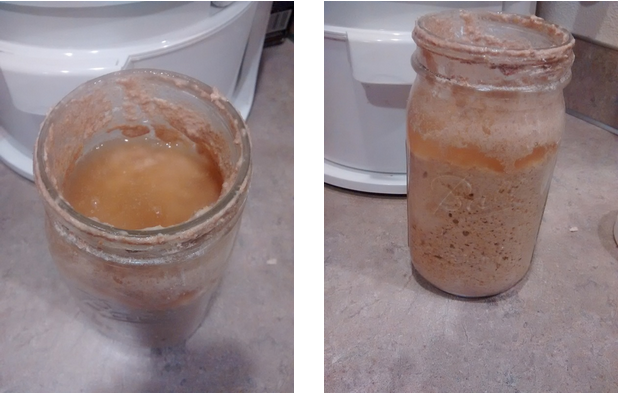
When we are not using our sourdough starter it lives in the refrigerator and is fed before we need to use it. For the purpose of this tutorial you will need to have fed your starter at least 1-3 days before making this recipe. When we are done it goes back into the refrigerator until the next time.
How much starter is needed for this recipe?
Measure out 1 to 1 1/2 cups of sourdough starter into a large glass bowl (sourdough will eat stuff stuck in plastic bowls and metal is a debatable material).
Mixing the Sponge
Mix Flour, Water and Starter
In bowl which you placed your sourdough starter add 2 cups of your ground or bought whole wheat flour and 2 cups of filtered or purified water.
What type of water do I use?
City water/tap water won't work well for this as the chorine that is added and other chemicals isn't good for the sourdough starter and may kill the only thing you have to rise your bread.
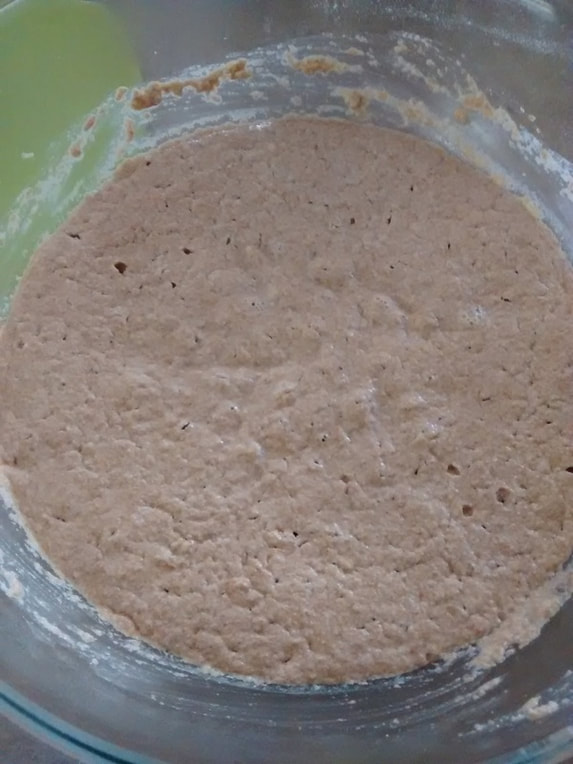
The First Rest and Wai
Let this set for 8-12 hours. I mix mine before bed about 9:30 pm the night BEFORE I want to bake. Then the lactobacilli have plenty of time to do their thing (eat those sugars and digest the gluten).
At about 9:30 am the next morning I move on. This step takes about 5-10 minutes. I cover my bowl with a reusable lid similar to this one, plastic wrap also works. I was using plastic wrap but when you make bread every day or every other day it just seemed like an unnecessary waste. A cloth towel works ok but in the summer fruit flies snuck their way in.
Putting it all together
Add Raw Honey, Filtered Water, Sea Salt & More Flour
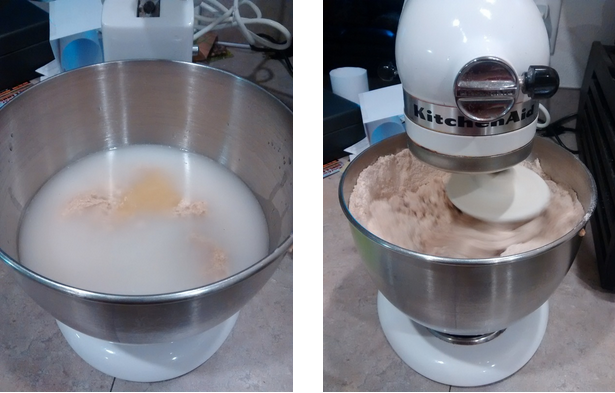
After the sponge (mix of water, flour, starter) has sat 8-12 hours, I dump it into my Kitchen Aid mixer.
Next I add 2 cups of filtered water (again the starter likes pure water), 1/4 cup of raw honey (the best kind to use with the most nutrition, local if possible), and 2 tsp. of sea salt (we prefer RealSalt full of minerals and no additives).
I give the mixer a little short run to blend that together then add my 6-7 cups of flour. The amount of flour depends on how watery the starter was, how fresh your flour is (more flour if fresh, less if bought) and the how warm or cold the weather is.
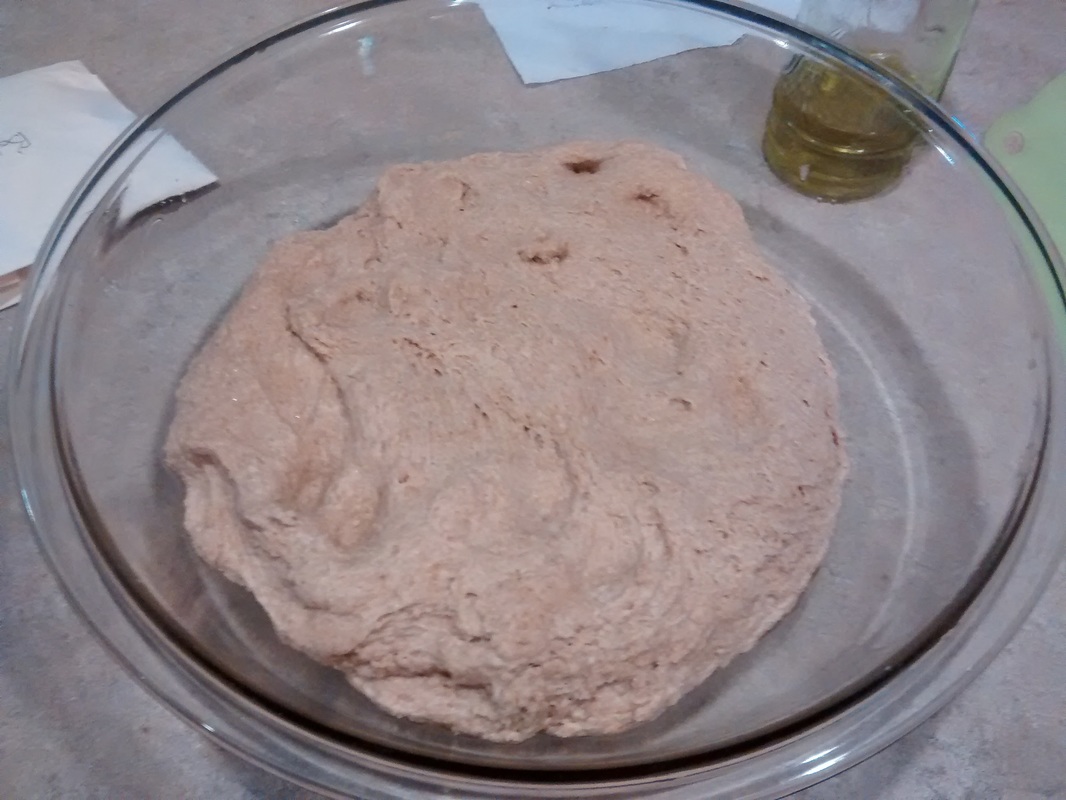
The dough should be wet but shouldn't make a squishy should when you pinch it. Sourdough prefers a wet dough and you can usually add some later in the process but you don't want it too wet or the bread won't rise well.
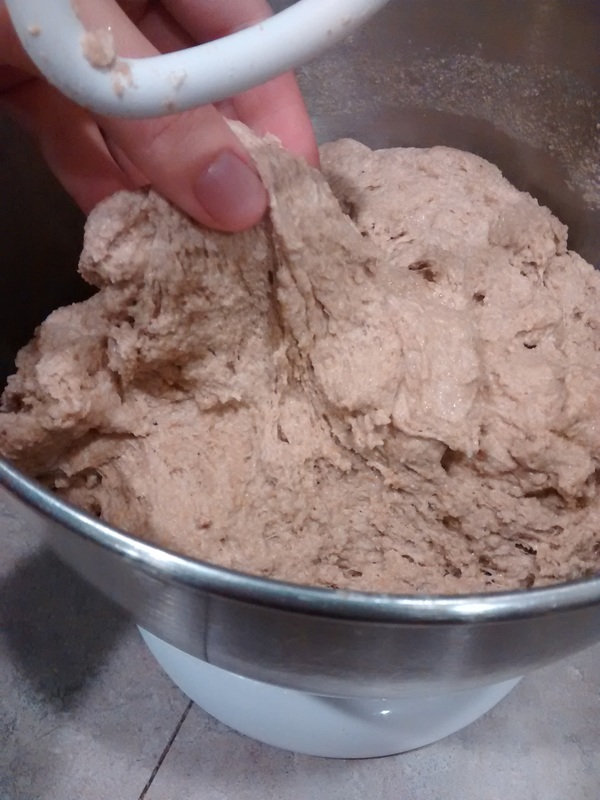
The photo above shows how the dough should look once all of the ingredients are incorporated. This will probably be more wet than a dough that is made with yeast at this point. The whole wheat takes a while to soak up the water so it will need to be more wet.
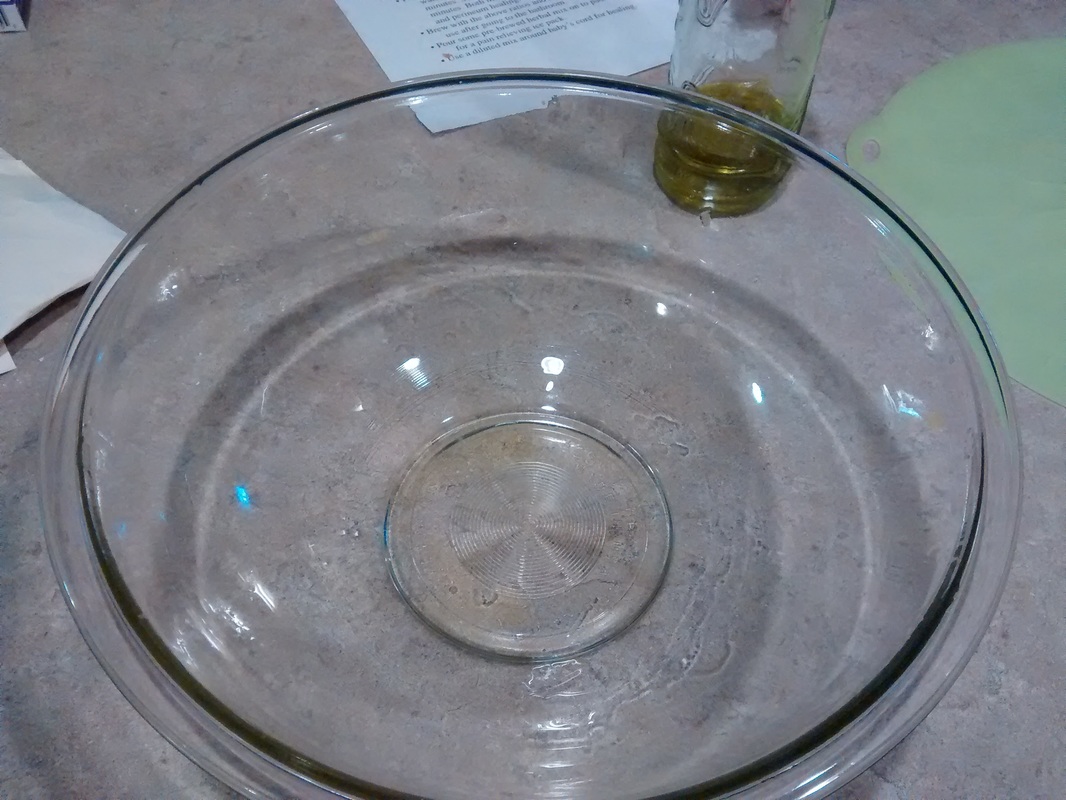
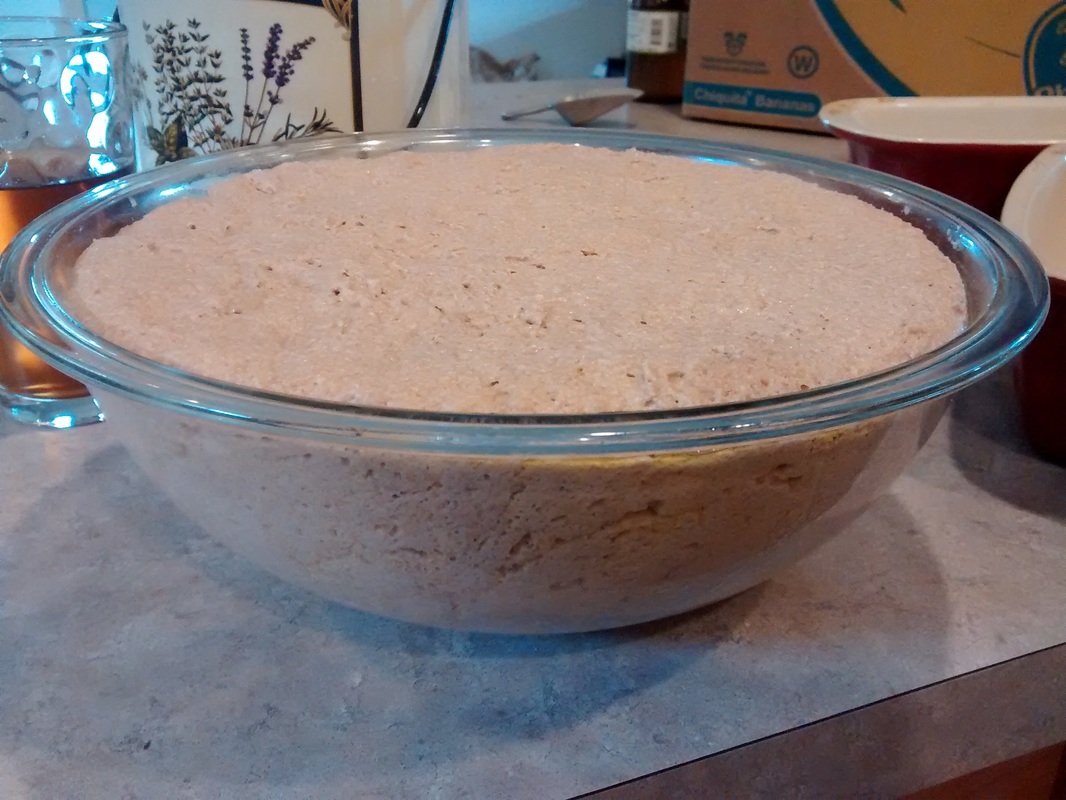
Once you have your flour mixed in I rinse out the large bowl that was used for the sponge and give it a quick wipe down with a clean cloth napkin. Pour about 1 1/2 tbl. of oil in the bowl to grease it. Then transfer the dough from the mixer into that large bowl. I cover it with my silicon lid and let it sit about 4 hours.
The timing on this will also depend on the warmth or coolness of the house. On cold days it might go longer than 4 hours though generally that doesn't happen with ours. On hot summer days I have to watch it, it could go in an hour or so. If its really cold sometimes it gets to snug close to the wood stove. It can also be placed in the fridge if the baker will be busy longer than 4 hours. (Read I ran to town and didn't have time to finish the bread off). The coolness of the fridge will slowdown the fermenting process and give the baker some extra time.
When the dough has rose and doubled its time to move on to the next step.
Kneading and Shaping
Knead dough, shape and place in bread pans.
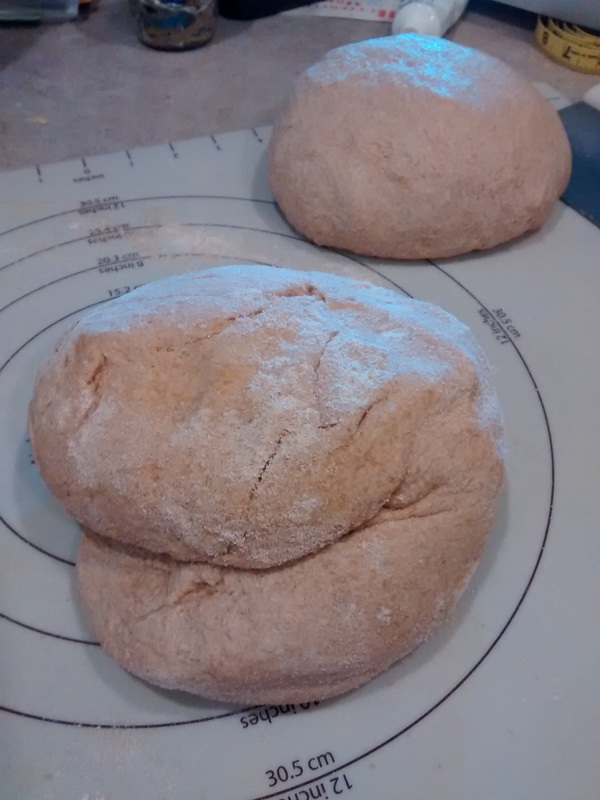
After your dough has doubled in size it's time to get out my trusty, could-not-do-without, Pampered Chef Pastry Mat (one of my favorite kitchen tools can you tell?!)
I dump out my dough on an oiled mat (if my dough is too wet I use flour instead of oil) and use a pastry knife to cut my dough in half so I have equal parts for two loaves (or close to equal).
I knead the dough, flattening it out and folding it over itself until it has a nice smooth elastic feeling to it. I estimate this takes less than 5 minutes for each ball of dough. The sourdough starter does such a good job at digesting the gluten that it almost kneads it for me. I usually knead one half let it rest while I knead the other. Let the second set rest while I shape the other into a loaf.
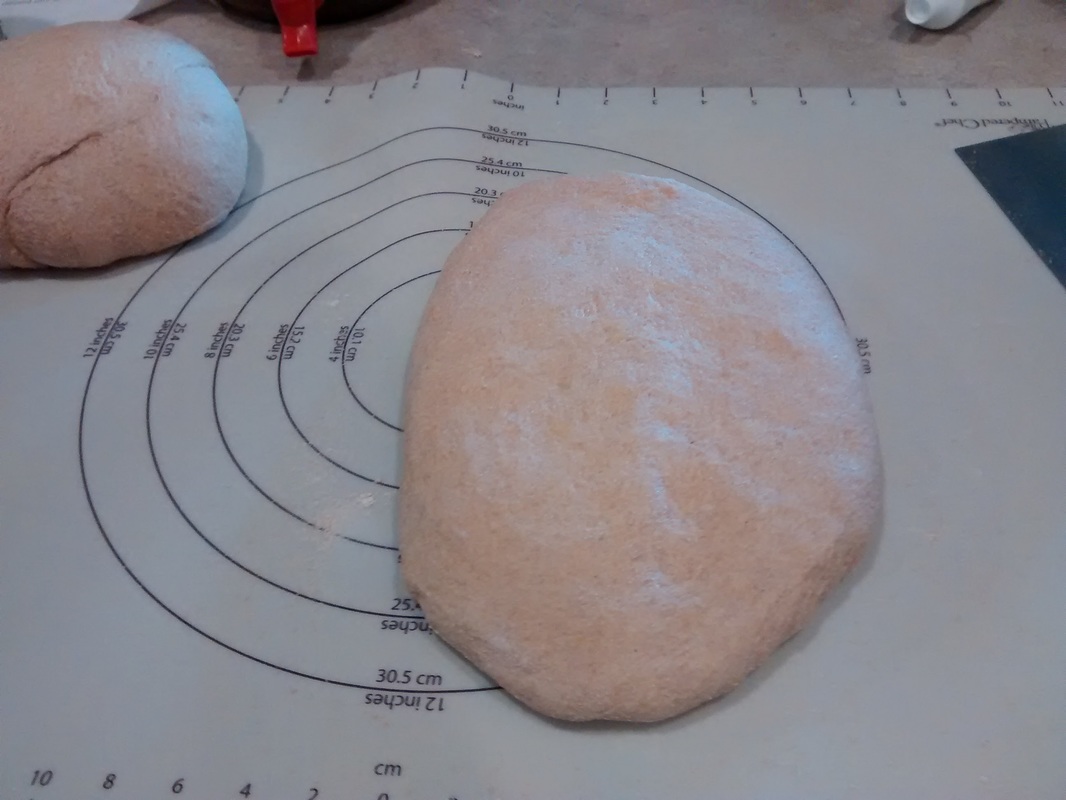
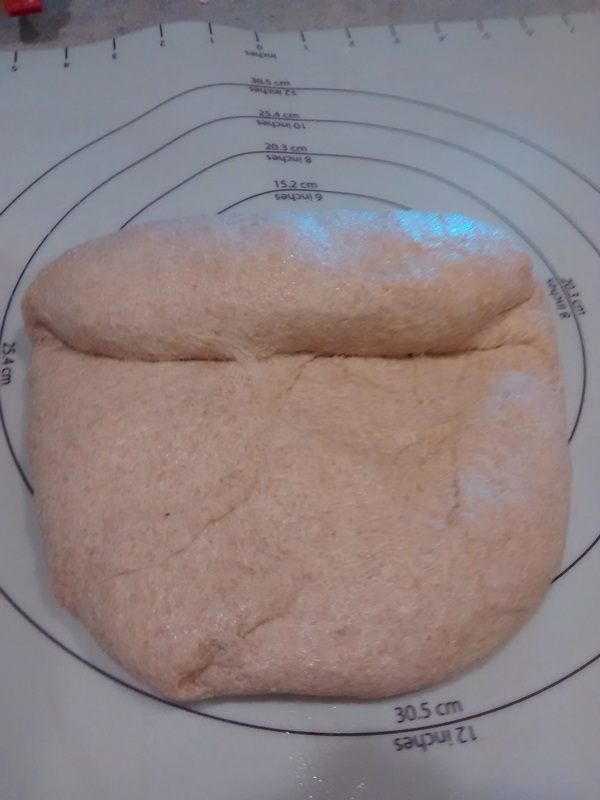
To shape the loaf I turn the ball of dough on its smooth top side, and then flatten it and shape it with my fingers into a rectangle. I then slowly roll from the top to the front making sure to push down slightly as I roll to keep air bubbles from showing up and creating holes in the loaf when it bakes.
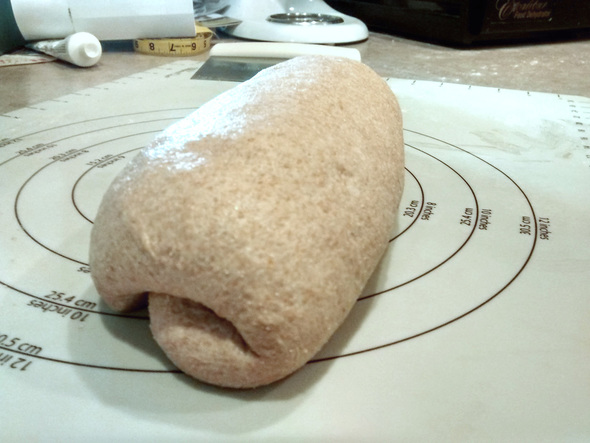
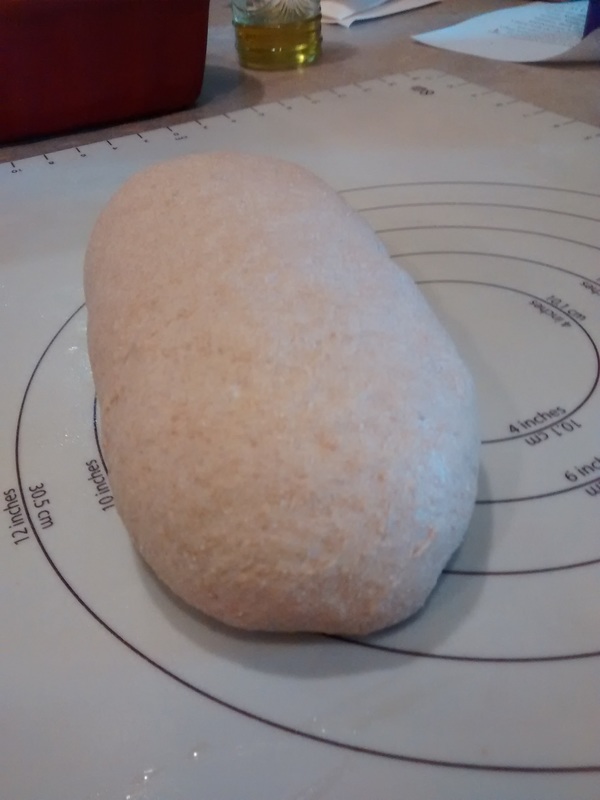
Once it is rolled and folded I tuck in the ends, flip it over and make sure the seam is sealed by pinching it together. Then rub some olive oil on the top to keep it from drying out and in the summer it keeps the fruit flies off.
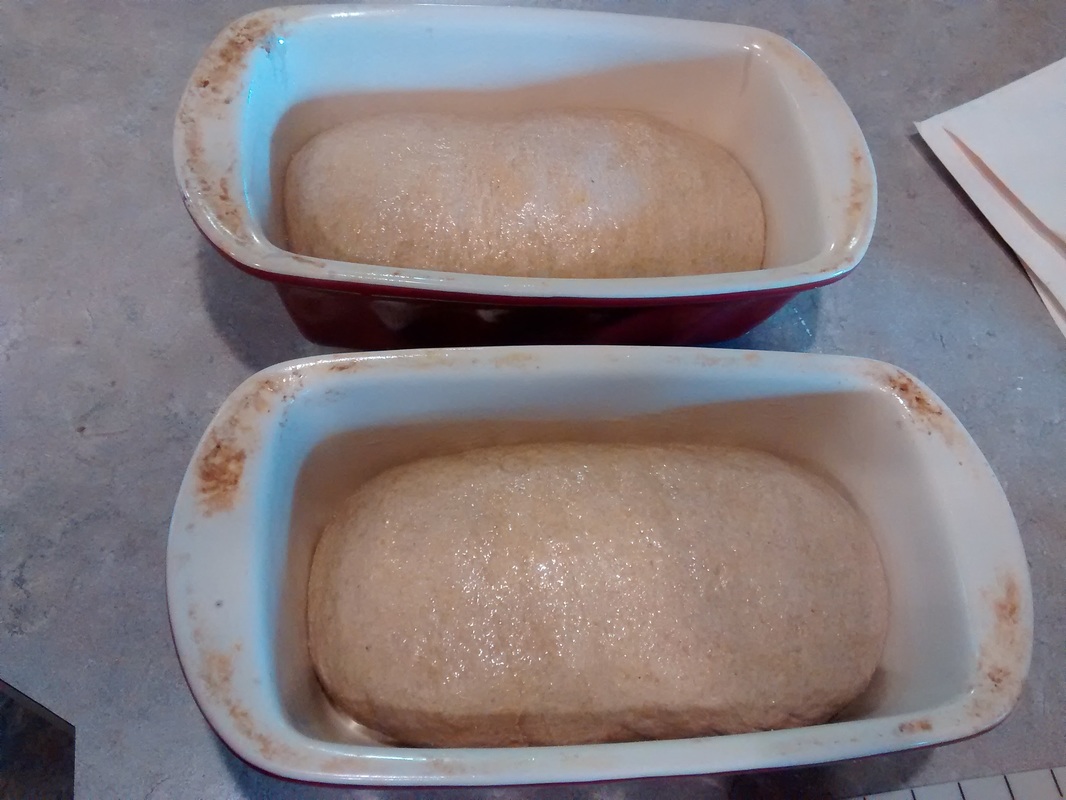
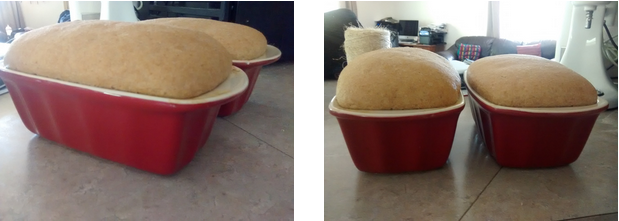
I grease my Good Cook Stoneware Bread pans with olive oil and place the shaped loaves in the pans to rise a second time. While the Good Cook Stoneware is working great for us they are wearing down on me after 4+ years and I have some Pampered Chef Stoneware Bread Pans on my wish list! Why stoneware? It cooks really well, very evenly, holds heat well, makes a nice crispy golden brown outside and its made natural materials that won't leach into the food that is baking in it. Just a few reasons we love stoneware!
Baking The staff of Life
Bake both loaves at 400 degrees F for 40 minutes.
For our average oven this tempature and time are perfect, every time. Everyones ovens are different though so a good tempature for bread is about 190 degrees on a meat thermometer.
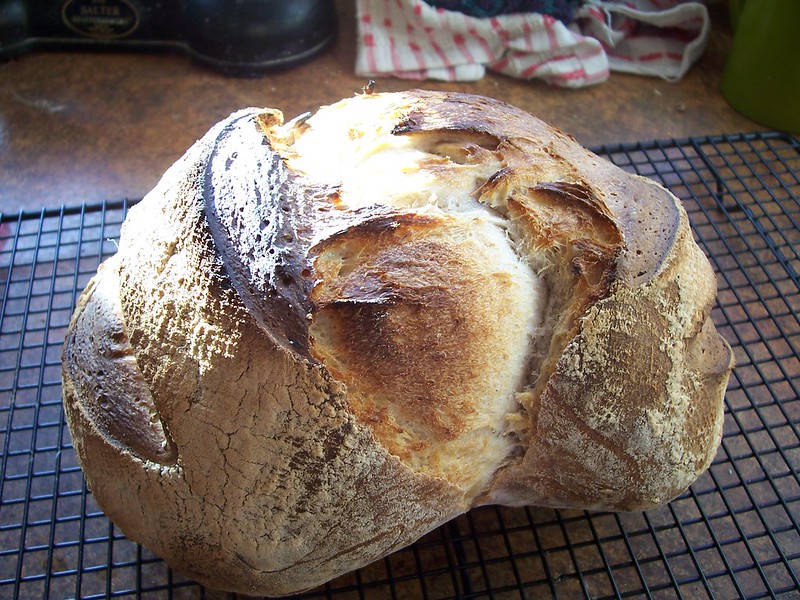
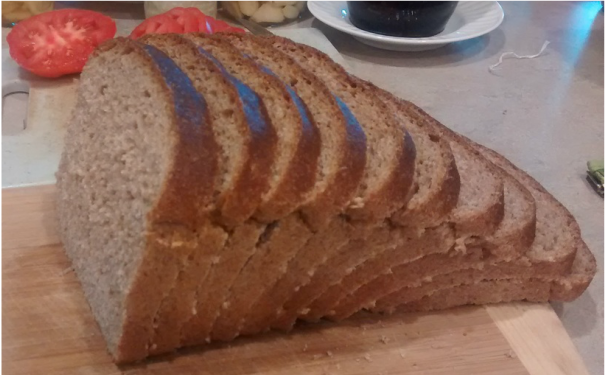
When the bread is done I remove it and then turn it out of the pan onto a baking rack to let it cool. I brush some olive oil over the top for a little less rustic look and it browns the top a bit while it cools.
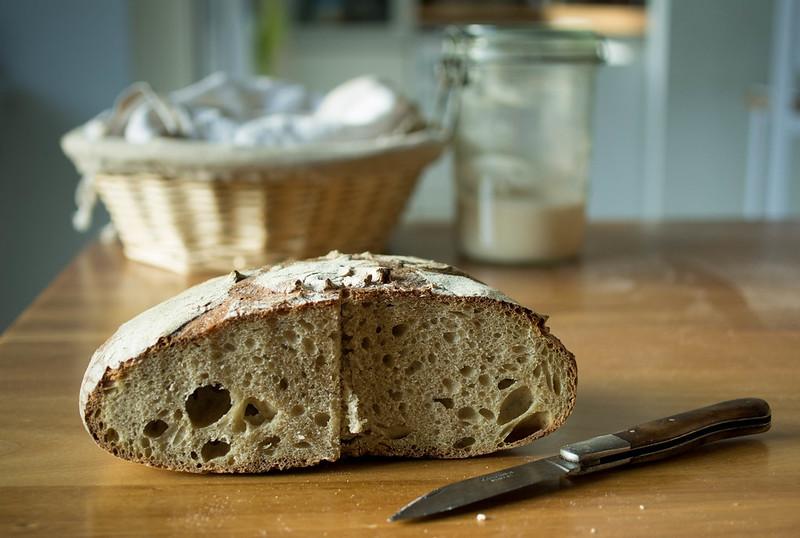
You could slice right away but the longer it has the cool the better. Hot bread will be super moist and will mush together when you try to cut it. A couple of hours would probably be the perfect amount of time to wait. This recipe makes a great sandwich bread. Its very hearty, healthy and simple once you get a system going!
SOURDOUGH SANDWICH BREAD
Not home all day?
Not everyone is home all day long to bake bread and I admit that timing was really a lot of what took me 4 years to figure this out. For those that work baking many loaves on a Saturday and then freezing them (pre sliced) would be an option. One could also place the dough while in the first rise stage (in the bowl before shaping) in the fridge and then take out when home from work to shape for the last rise. What ever schedule works for your family this bread is a healthful blessing!
And now for the Butter
Don't forget to top that glorious bread with plenty of grass fed butter for both flavor and health.
Did you find this tutorial helpful? Please share below what was helpful and what questions you might still have. Sourdough is half science and half art!