How to Make Perfect Dried Apples at Home (With or Without a Dehydrator)
Aug 19, 2025
There are so many wonderful things that I love about fall! It is my favorite season. Not only do we get to slow down from the heat of summer, but we also get to harvest the fruits of our labors and bring them inside — and some of that harvest includes apples!
Apples have their own natural beauty. There are many different varieties, and they all look a little different. When you slice into each one, you will see how God imprinted each with its own unique design. Here on the farm, we like to preserve this design in the dehydrator so that we can use these apples in many different ways, from decorations to recipes and more.
In this post, you will learn how to make perfect dried apples at home. If you need to dry apples without a dehydrator, we’ve got you covered. There are a few different methods you can use, and they are all quite simple! We will share everything from how to pick and prepare your fruit to the various ways you can use it.

The Legal Stuff
This blog is provided by St. Fiacre's Farm LLC for informational purposes only. It does not constitute medical advice, and you should always seek the advice of a qualified healthcare provider for any medical questions or concerns. These statements have not been evaluated by the Food and Drug Administration. This product is not intended to diagnose, treat, cure, or prevent any disease. Please note that we may earn a small commission on any purchases you make through our affiliate links, at no additional cost to you. Thank you for your support!
Why Dry Apples?
Drying apples is a great way to preserve them to enjoy the fruit long after the harvest. Apples are loaded with a variety of health benefits, including:
- Rich in antioxidants
- A great source of dietary fiber
- Supports healthy digestion
- Stabilizes blood sugar
- Promotes gut health and heart health
Did you know that all apples, even the tart ones, contain natural sugars? This natural sugar content makes them a satisfying sweet treat without any additives, perfect for folks like me who have a sugar allergy. Also, you can use apples as a natural sweetener in many of your favorite recipes.
They are a delicious addition to muffins, tarts, breads, and pies. Apples are especially good for making all sorts of fall treats, but they can be used year-round as well. While dried apples make a great addition to so many recipes, they are also so tasty on their own and can be enjoyed as a light snack at home or on the go.
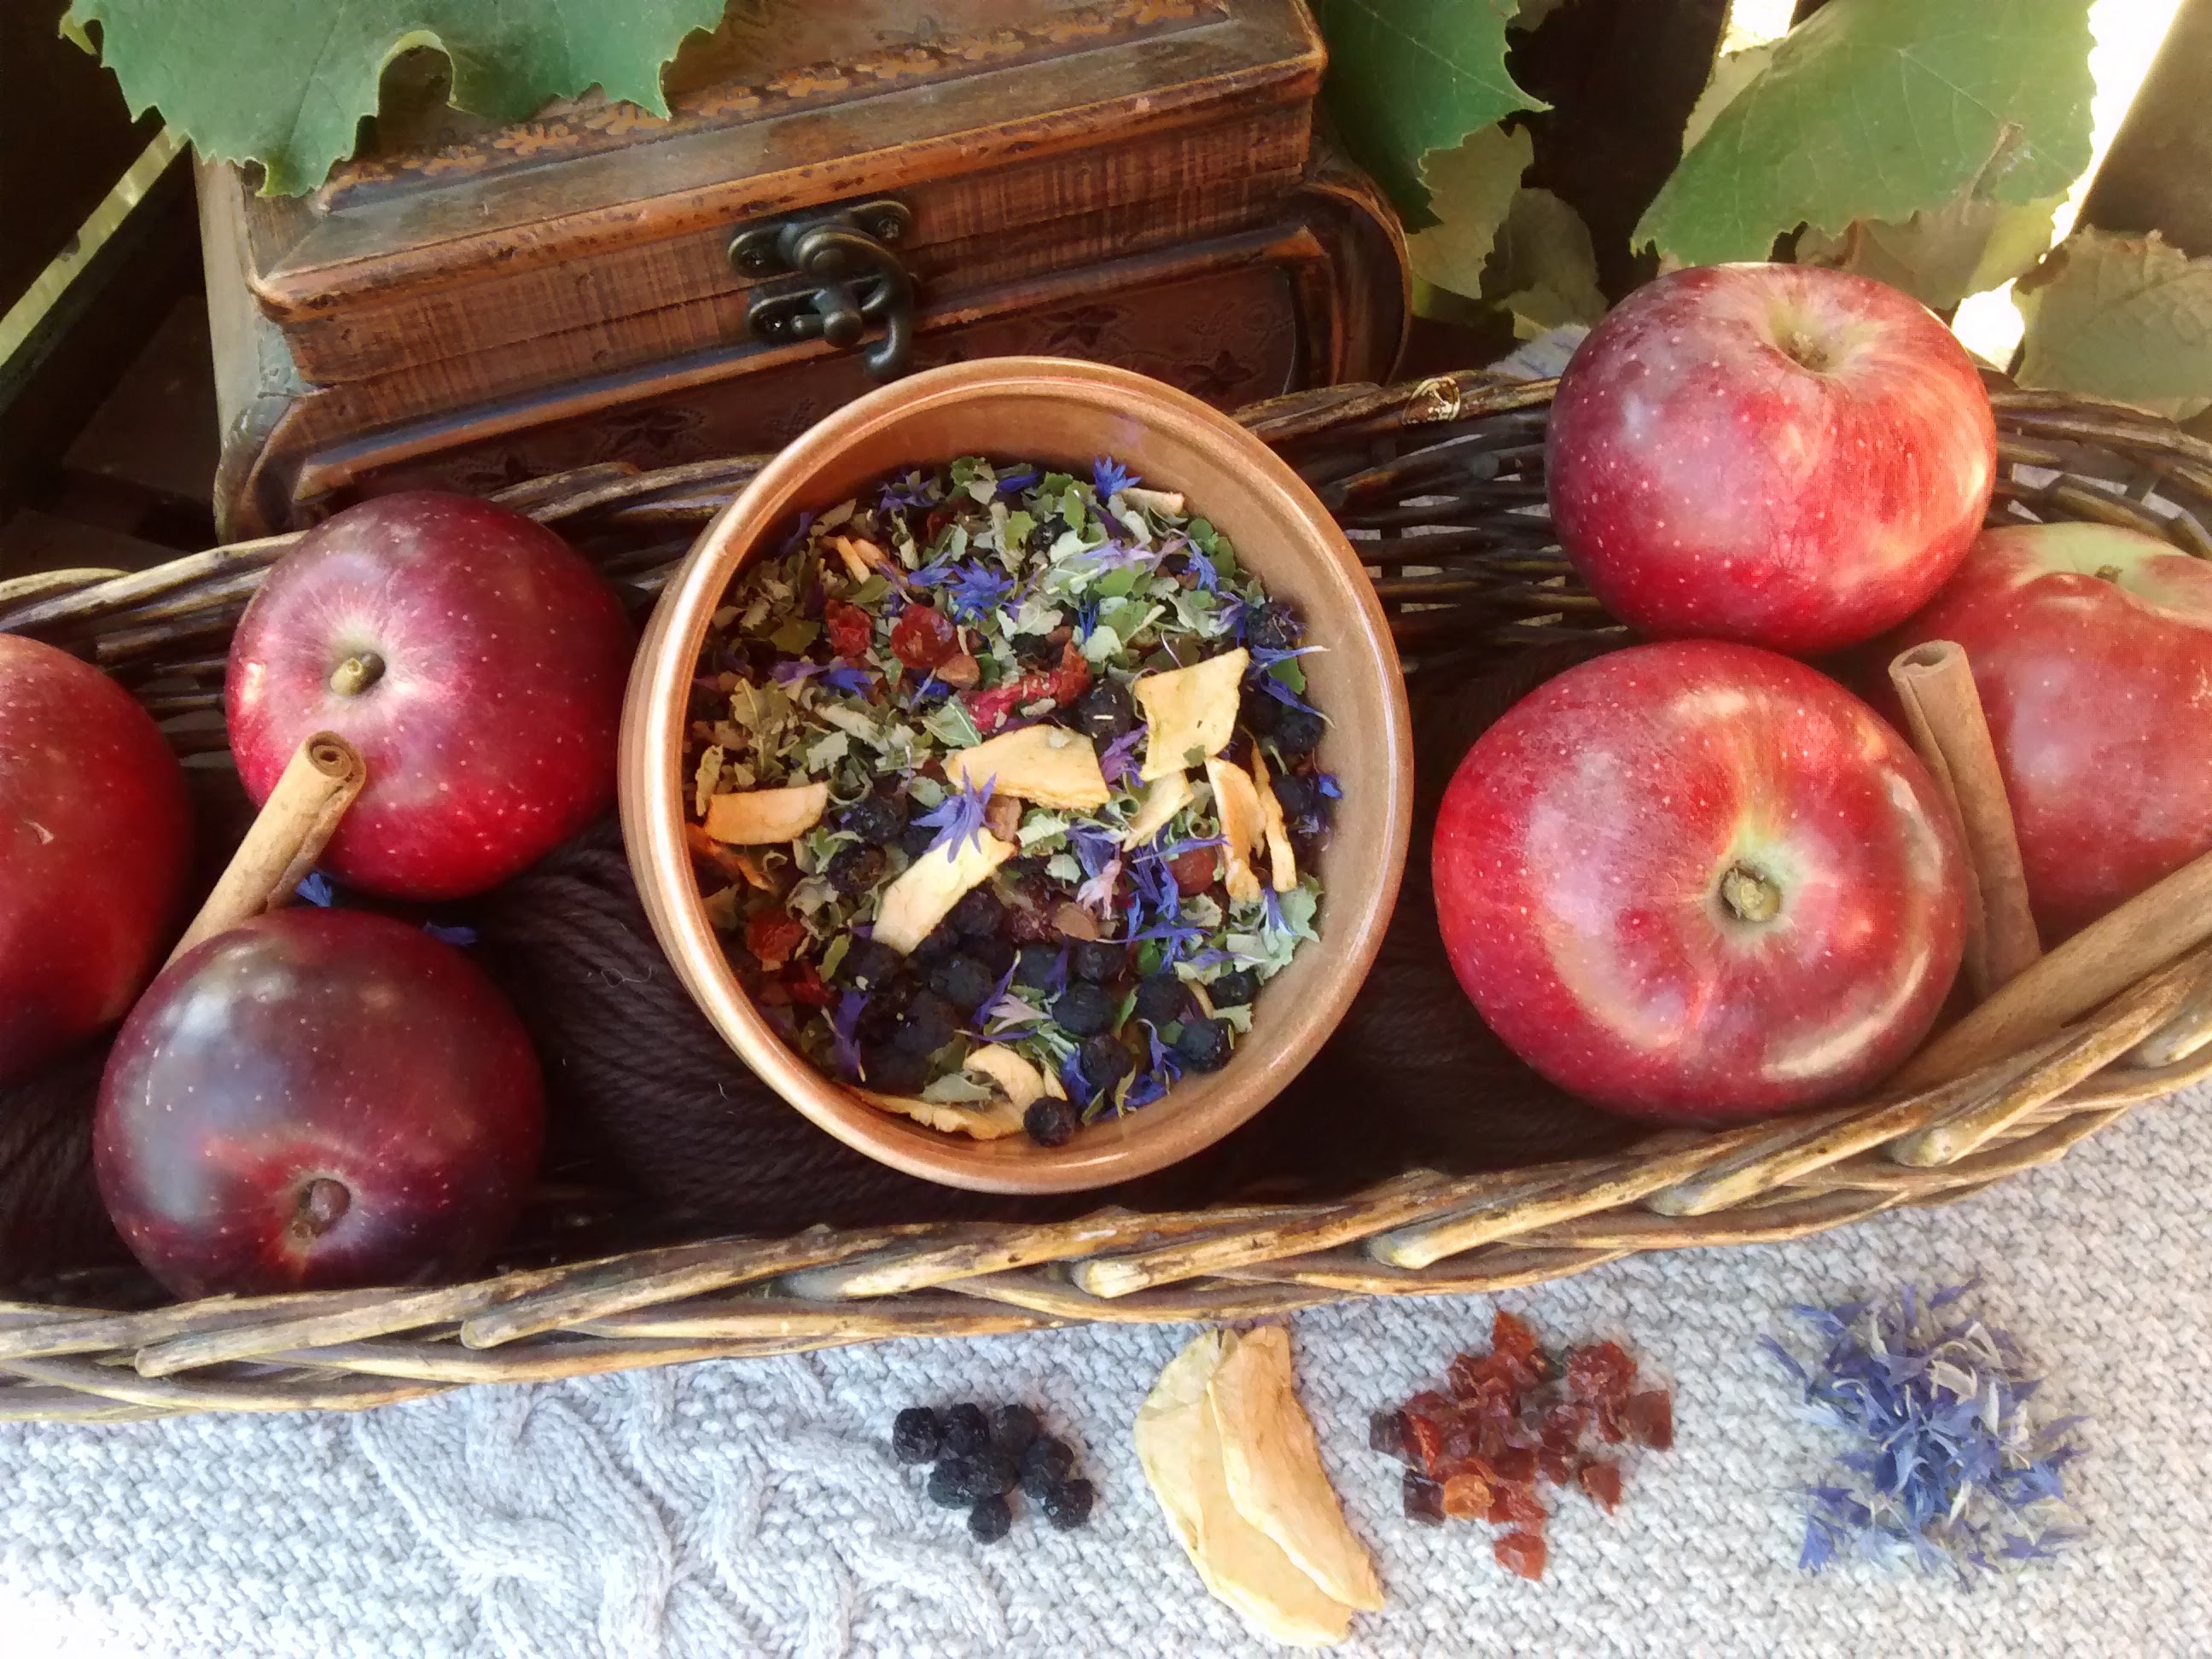
And of course, we love making tea with dried apple! Our Farmhouse Apple Cider Fixin Tea provides comfort and warmth with a hint of cinnamon. We also love using our Apple Pie Kombucha Flavoring to make delicious fizzy and cozy drinks.

Selecting and Preparing Your Apples
The secret to getting the perfect dried apple is picking apples that have the best flavor and texture! You can use sweet or tart apples, depending on your personal preference, but the most important factor is firmness.
Make sure that your apple of choice will hold its shape well even after the moisture is removed. Here are some of our favorites to use for drying.
- Fuji: These have a firm and crispy texture, and when it comes to flavor, they are sweet and mild. Their high natural sugar content gives them a rich flavor that lasts when dried, and they will hold up well when dehydrated.
- Honeycrisp: Known for their sweet, tart flavor and crispy and juicy texture, Honeycrisp apples are a popular choice. They do have a higher water content, meaning that they will take a bit longer to dry than other apples, but we promise they are worth the wait!
- Granny Smith: Tart, tangy, and crisp, Granny Smith apples have a unique and satisfying flavor. They also tend to dry faster than other apples because of how dense they are.

Prepping apples
Start by washing the apples carefully to remove any debris. After washing and towel-drying the fruit, you will slice each apple. We recommend cutting uniform ⅛-inch slices for even drying or at least getting them as close to consistent as possible. This keeps the drying process even throughout your apples. The thicker they are cut the longer that they will take.
While you prepare everything, you will also need to prevent the apples from browning. The best way to do this is by soaking the slices in a mixture of 4 cups of water and ½ cup of lemon juice for 30 minutes. This will keep them nice and fresh and help maintain their color.
The final preparation step is deciding what flavor you want to add to your fruit. Plain dried apples will taste just fine, but adding a bit of flavor will definitely take things to the next level. Cinnamon is our personal favorite on the farm, but you can use any other spices that you love to get different flavors. Of course a lot of this depends on how you intend on using your dried apples. If they are just for snacking cinnamon is a must but if you intend on using them in baking or tea blends we would recommend waiting on the flavoring until you know their intended use.

How to Dry Apples
Next to drying oranges, apples are my second favorite fruit to put through the dehydrator. When it comes to drying apples, there are multiple ways to get the job done. If you don’t have a dehydrator, the oven is a great alternative. Or, if you want to go with a more traditional method, you can dry them in the sun. If you have sun - here in the Pacific Northwest we don't usually have enough sun but one month of the year for drying things that way and we rely heavily on our electric dehydrator.
Oven Drying
Start by preheating your oven to 200°F and lining baking sheets with parchment paper. Place apple slices in a single layer and bake for 1 hour, then flip and continue baking for another hour for soft apples, or up to 2 more hours for crispier chips. Before storing, you will first need to cool your apples. Turn off the oven, crack the door open, and let the apples cool completely inside.
Electric Dehydrator
Arrange your apple slices on dehydrator trays without overlapping the pieces. Set the dehydrator to 130–140°F and dry for 6–8 hours until the apples have a leathery appearance. Keep in mind that the moisture in the air around the electric dehydrator and the moisture of the apple can make the time vary.
Sun Drying
Sun drying is a simple and affordable way to preserve fruit. Keep in mind, though, that you will need a warm, dry climate for this method to work. You will also need to use cheesecloth to protect the slices from insects and contaminants. To get the process started, place the slices on drying racks under direct sunlight, turning periodically for a few days until fully dried.

Storing Dried Apples
Apples can have a pretty long shelf life if dried and stored properly, meaning that you will have perfect dried fruit ready to go whenever you want to use it! Here are a few of our best tips for storing dried apple fruit.
First, ensure the apples are completely cool. This will prevent moisture buildup. Next, you will need to condition the apples. Place dried apples in a jar, and shake daily for a week to distribute any remaining moisture evenly, ensuring longevity. If the apples are sticking together or you notice condensation, this is a sign that they need to be dried for longer.
Once you have finished the conditioning period, your apples can be stored. For short-term storage, store dehydrated fruit in airtight containers at room temperature for up to one week. If you are looking to store the fruit for longer, refrigerate it for up to one month or vacuum seal it for extended shelf life. You can also add food grade silica gel packets to your containers to help keep the moisture out.

How to Make Dried Pears and Other Fall Fruits
In addition to apples, there are plenty of other delicious fruits that you can dry! One of our other favorites is pears. The best pears to dehydrate are ones that are ripe but firm. Bartlett, Bosc, and Anjou pears would be our recommendations for the best flavor and texture.

Drying pears
After washing the fruit thoroughly, slice it into uniform ¼ inch thick wedges for even drying. As with the apples, you can prevent pears from browning by soaking the slices in a mixture of 4 cups water and ½ cup lemon juice for 30 minutes.
- Oven Drying: Line baking trays with parchment paper and spread the fruit on top. Set the oven to 140-170°F and bake for 6-10 hours, flipping every 1-2 hours as needed.
- Dehydrator Drying: Arrange your pear wedges on dehydrator trays in a single layer. Set the temperature to 135°F and dry for 8-12 hours until the pears are leathery.
- Sun Drying: If the weather conditions are ideal, you can dry pears outside on a rack, covered with cheesecloth to keep insects out. Drying will take 2-4 days.
Other fall fruits to try:
- Plums
- Persimmons
- Figs
- Grapes
- Cranberries
What to Do with Rehydrated Dried Apples
Wondering what to do with rehydrated apples after dehydrating them? Once you've soaked your dried apples in warm water for 15–30 minutes, they become soft, plump, and full of flavor—perfect for a variety of recipes!
-
Baked Goods: Use reconstituted apples in homemade apple pies, crisps, muffins, or breads for that cozy, just-picked flavor.
-
Breakfast Boost: Stir them into oatmeal or add to yogurt bowls for a naturally sweet and hearty morning treat.
-
Homemade Applesauce: Blend rehydrated apples with a sprinkle of cinnamon and a touch of honey for a quick and easy applesauce.
-
Savory Dishes: Add them to pork roasts or holiday stuffing, or chop into chicken salad for a sweet and chewy twist.
-
Not Ideal for Raw Use: Rehydrated apples have a softer texture than fresh ones, so they may not be the best fit for salads or recipes that need a crisp crunch.
-
Pantry Staple Substitute: Think of them as a shelf-stable, seasonal backup when fresh apples aren’t available.

How to Decorate with Dried Apples
Looking for a charming way to bring a touch of rustic warmth into your home? Dried apples aren’t just for snacking—they make beautiful, old-fashioned decorations too! You can string them into garlands with cinnamon sticks and dried oranges for a cozy fall or Christmas vibe. Tuck them into wreaths, potpourri bowls, or mason jar centerpieces for a farmhouse look that smells as good as it looks. Dried apple slices add a handmade, homespun feel to gift wrapping, table settings, or even tree ornaments. Whether you're going for primitive country style or classic homestead charm, decorating with dried apples is a simple, natural way to add seasonal beauty to your space.

Dried Apples Frequently Asked Questions
Do you need to peel apples before drying them?
It is not necessary to peel apples before drying them. Some people prefer a smoother texture, but others prefer to keep the skins on to maintain the nutrients. It is ultimately up to you and your personal preference as well as your intended use for the apples after drying.
How long do apples last once dried?
Dried apples can last for up to one year if stored properly in airtight packaging. For best results, be sure to cool and condition the fruit before storing, and store it away from direct sunlight.
Can apples be rehydrated?
Yes! Rehydrating dry apples is a great way to get them ready for cooking and baking. To rehydrate, soak them in apple juice, warm water, or tea until they start to soften.

Enjoying the Fruits of the Season
Drying fruit is a wonderful way to enjoy the abundant harvest that God has blessed us with. It brings me great joy to take these things we have been blessed with and use in them in so many different ways!
Looking for more creative ways to use your favorite dried fruits? Download our FREE (November through December) Handmade Christmas E-book for inspiring ideas on how to turn dehydrated apples and more into thoughtful, heartwarming gifts. From balms and salves to teas and spice blends, you'll find simple, beautiful ways to share homemade goodness with the ones you love.
Read More about Preservation
- How to Dehydrate Oranges
- Sun Dried Tomatoes in the Dehydrator
- Best Dehydrator for Fresh Herbs
- How to Dry Herbs Without a Dehyrator
- How to Flavor Water Kefir
- How to Make Kombucha at Home