How to Stratify and Scarify Medicinal Plant Seeds
Mar 15, 2022
We've all been there. Our new botanical seeds arrived in the mail, we planted them eagerly into the ground, and then... nothing. They don't sprout; they don't grow, and we're left wondering if our green thumbs have shriveled off.
Did you know, though, this happens because seeds naturally need to become dormant to survive harsh winters? It's a survival technique that means seeds are only going to germinate when they're most likely to flourish.
That dormancy needs to be broken before the seed can grow, even if we've provided the coziest, comfiest soil possible. How do we do that?
Through a process of seed stratification or scarification, of course. Let's dive into exactly what that means.
What Are Stratification and Scarification?
Seeds with a hard, nearly impenetrable seed coat, otherwise known as a testa, need a little help in penetrating their testa. This has to happen in order for them to absorb the water they need to germinate and grow.
Left to their own devices outdoors, these seeds would likely go through a natural freezing and thawing process through winter, which would naturally rupture the seed coat. The two key processes we need to do seeds to achieve the same effect are called stratification and scarification.
What Is Stratification?
Stratification breaks seed dormancy, which is the cold, damp phase plants go through in the cooler seasons. This phenomenon occurs in nature during the winter, preventing seeds from germinating until conditions are more favorable in the spring. Plants that live for several years, like perennials, are more likely to require stratification.
Long-germinating seeds should be planted in seed trays or pots and covered with sand rather than compost. We should then keep the tray/pot moist by covering it in a plastic bag.
Some seeds won't even sprout in their first year, so we mustn't give up if nothing is happening. Plenty of seed varieties need more than one year to germinate, but we can check the viability of large seeds before even attempting to stratify them.
If the seeds are large enough, we can split on in half to check them. The seed embryo inside should be white and solid, not squishy or watery.
Fridge or Freezer Stratification
If the instructions just say to stratify seeds but don't mention cold or warm stratification, we're going to want to use cold stratification. The process is simple and requires minimal fuss (just don't forget the seeds in the freezer).
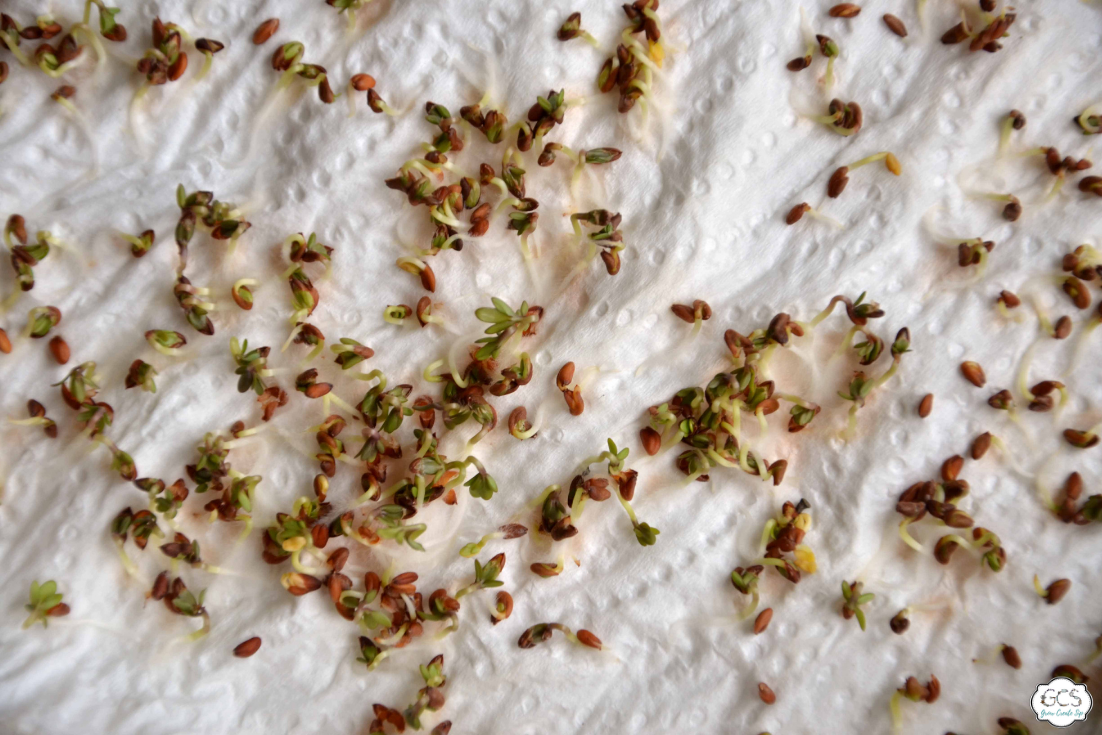
- Soak two paper towels in water and place the seeds between them before putting the whole thing into a Ziploc bag. Alternatively, wet sand, peat, or the aforementioned paper towels can go into an airtight container.
- Keep your Ziploc bag or container of seeds in the fridge or freezer, checking for water every now and again and adding it if necessary.
- Unless otherwise stated, remove the seeds and plant them out in a few days.

The Outdoor Method
Sowing in the fall for spring germination promotes natural stratification. You may lose a few seeds due to animals, but most gardeners believe it is worth it because it is such an easy way to grow otherwise fussy seeds.
- Sow the seeds in peat pellets or your choice of seed-starting medium.
- Keep them for seven to ten days outside (in a cold frame if desired).
- Bring the plants inside after the allotted time to encourage germination.
Note: Keep in mind that this method only works when you plant according to a schedule in recommended growing zones.
Warm Stratification
Some seeds will respond well to warm stratification and it's a straightforward process. Follow the above steps for cold stratification in the fridge, but store your seeds in a location that is between 68 and 85 degrees Fahrenheit.
Check every few days to make sure the seeds have enough water and add more if necessary. Sometimes cold stratification will follow warm stratification, but the time required for both methods differs significantly from plant to plant.
Watch the Video in our Herbal Studio & Communi-tea
How to Scarify Botanical Seeds
Gathering all the tools required for this process should be as simple as looking around our kitchen and workshop. To nick the seed coverings, we can use a variety of techniques and tools. We could use sandpaper, nail files, or a dull knife.
- Using our tool of choice, we'll nick the seed coat so that the inside of the seed shows through. This area is usually lighter in color. We want to make sure we're doing as little harm as possible. We don't want to damage the seeds.
- Repeat this process for all the seeds.
- Allow the seeds to soak overnight in a dish of lukewarm water. Remove the seeds from the water when they begin to swell and plant them as soon as possible.
Some seeds have a twofold dormancy that causes both scarification and cold stratification. Others, like Black Cohosh, need to be stratified both warm and cold. Growth instructions for each variety will stipulate the different scarification and stratification needs if there are any.
Boiling Water
Some seeds are too small to cut or use on sandpaper, so we may want to try the boiling water method. Or rather, the nearly boiling water method. We'll start by placing the seeds into a pot of nearly boiling water (180°F). Soak the seeds in the water until it reaches room temperature.
Note: Scarified seeds do not store well, so remove them and sow them as soon as possible. If viable seeds typically sink when put into water, toss the ones that float and vice versa.
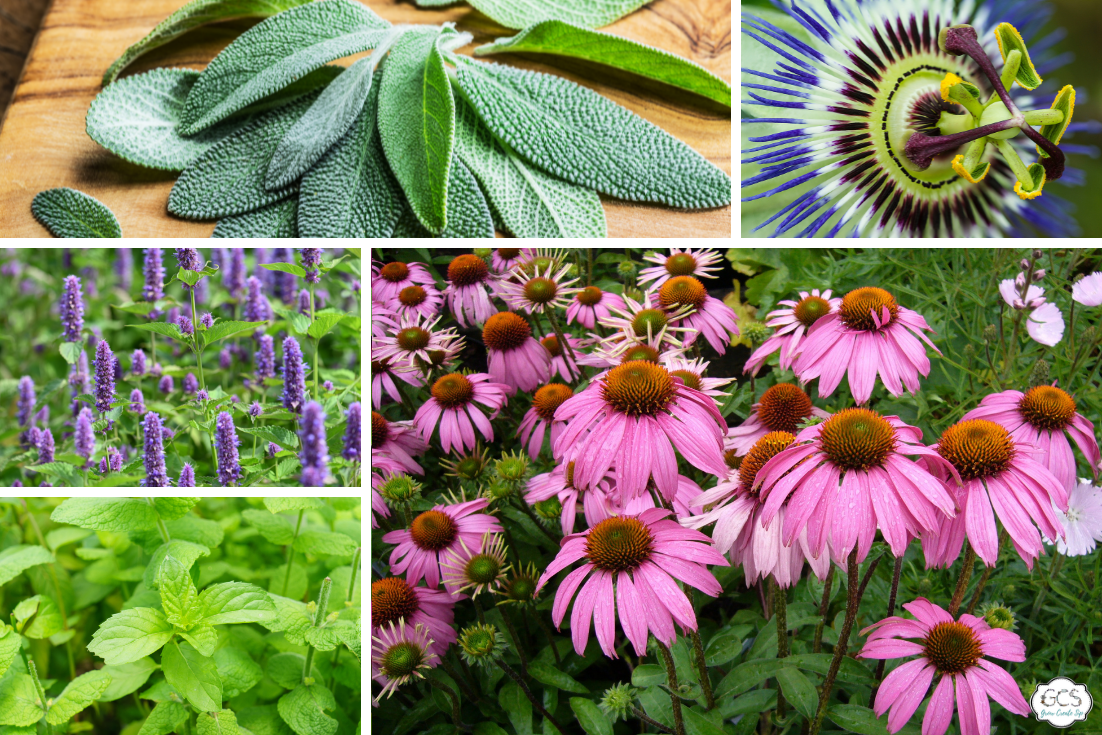
Herbs to Stratify
Please bear in mind this is not an exhaustive list, and everyone should do their own research for the needs of their individual seeds. That being said, these are some common medicinal plants that need to be stratified:
- Echinacea
- Anise hyssop
- Skullcap
- Ginseng
- Marshmallow
- Passionflower
- Stinging nettle
- Belladonna
- Betony
- Catmint
- Cowslip
- Lady's mantle
- Mugwort
- Myrtle
- Sage
- St. Johns wort
- Valerian
- Prairie violet
- Prairie Coneflower
- Vervain
- Pincushion Flower
- Marsh Marigold
- Lavender
Herbs to Scarify
Scarification is less common, and that likely shows in the list, but it needs to happen often enough that it's worth knowing some of the basic plants that need to be scarified.
- Hibiscus
- Licorice
- Marshmallow
- Redroot
- Vitex (chaste tree)
- Milkweed
- Sweet Pea
- Lupine
Starting Herbs From Seed
Some plants will need to be stratified for 4 weeks, and others for 13, or anywhere in between. It's can be a delicate process, but it's nothing that a bit of googling can't solve, especially if you're working with a new plant.
Direct Seeding
Direct seeding, also known as direct sowing, refers to putting seeds directly in the garden. We can do this rather than starting seeds indoors and transplanting them outside or buying small plants from nurseries. As we've seen, some seeds will do just fine being planted in winter or late fall. In fact, some herbs actually have a good rate of survival with direct seeding. A few good examples are:
- Calendula
- Holy basil
- Feverfew
- German chamomile
- Borage
- Garden sage
- Skullcap
- Bachelor Buttons
- Mint
Additionally, because of their aversion to transplanting, or the bigger batches needed for cover crops, we can directly seed the following plants into the ground:
- Milky oats
- California poppy
- Cilantro
- Fenugreek
- Red clover
- Alfafa
- Khella
- Nasturtium
We can use the term direct seeding to refer to seeds that we’ve scarified or stratified and then placed into the ground. It doesn't only apply to seeds that are sprinkled over the ground and left to their own devices. Be sure to take note of sunlight requirements when planting, but we'll note there are plenty of plants that love a good bit of shade.

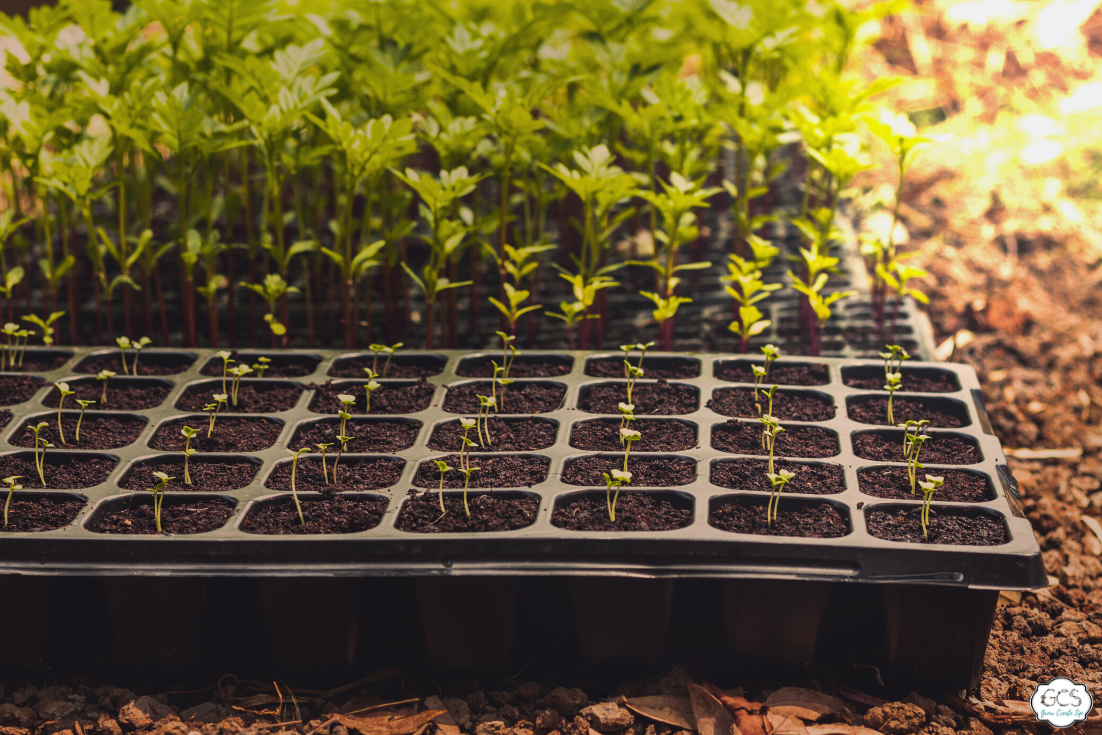
Planting in Trays
Seed trays are an alternative to direct seeding. Plastic seed trays are simple to find, come in a number of sizes, and are frequently inexpensive or even free. Seed trays with extremely small cells may be useful if we are placing trays in a window, small greenhouse, or under grow lights.
This allows us to seed a larger number of plants in a smaller space. Similarly, because many therapeutic herbs take longer to germinate, we lose less valuable space while we wait for them to emerge.
Transplanting Medicinal Plants
Transplanting is a delicate and joyful event—a type of graduation for our seedlings. We should consider hardening off our young ones by gradually exposing them to greater quantities of sunlight and wind before planting them directly in the garden, especially if they've been grown under lights, in a greenhouse, or on a sunny windowsill.
If we expose the new plants to the weather too soon, they may burn, wilt, or even die. We usually start by putting them outside for 1-2 hours and gradually increase their time in the light until they're totally acclimated.
One of the easiest ways to transplant herbs is to move them into pots once they've seeded. This makes it easy to move them around as needed and even easier to get them out of the winter frost!

Embrace Your Green Thumb
Whether we're learning by doing, or reading from a herbal medicine book, understanding how to grow and germinate botanical seeds is the start of any journey.
Plants can be a bit fussy, but once we understand what they need and when they need it, the entire ordeal gets a little less intimidating and a whole lot more fun. It's even more fun when learned with friends which is why we have a whole series of planting and planning videos for herb gardening in our Herbal Studio & Communi-tea! Not only is there learning and sharing going on but you will meet a whole bunch of herby friends just like yourself!
If you are looking for some trusty medicinal herb seeds make sure to check out our selection of essential medicinals, culinary seed and tea garden seed sets at Farmhouse Teas.
I'd love to know, prior to this post, were you afraid of the terms scarification and stratification? Have you ever planted medicinal herbs that needed these things done before planting? Let me know in the comments below!